This is a guide to make a very inexpensive smart camera for your Homekit setup.
Before you start, you’ll need:
- A Raspberry Pi or Mac running Homebridge
- A Xiaomi Dafang IP Camera
- Dafang Hacks
- Some free time
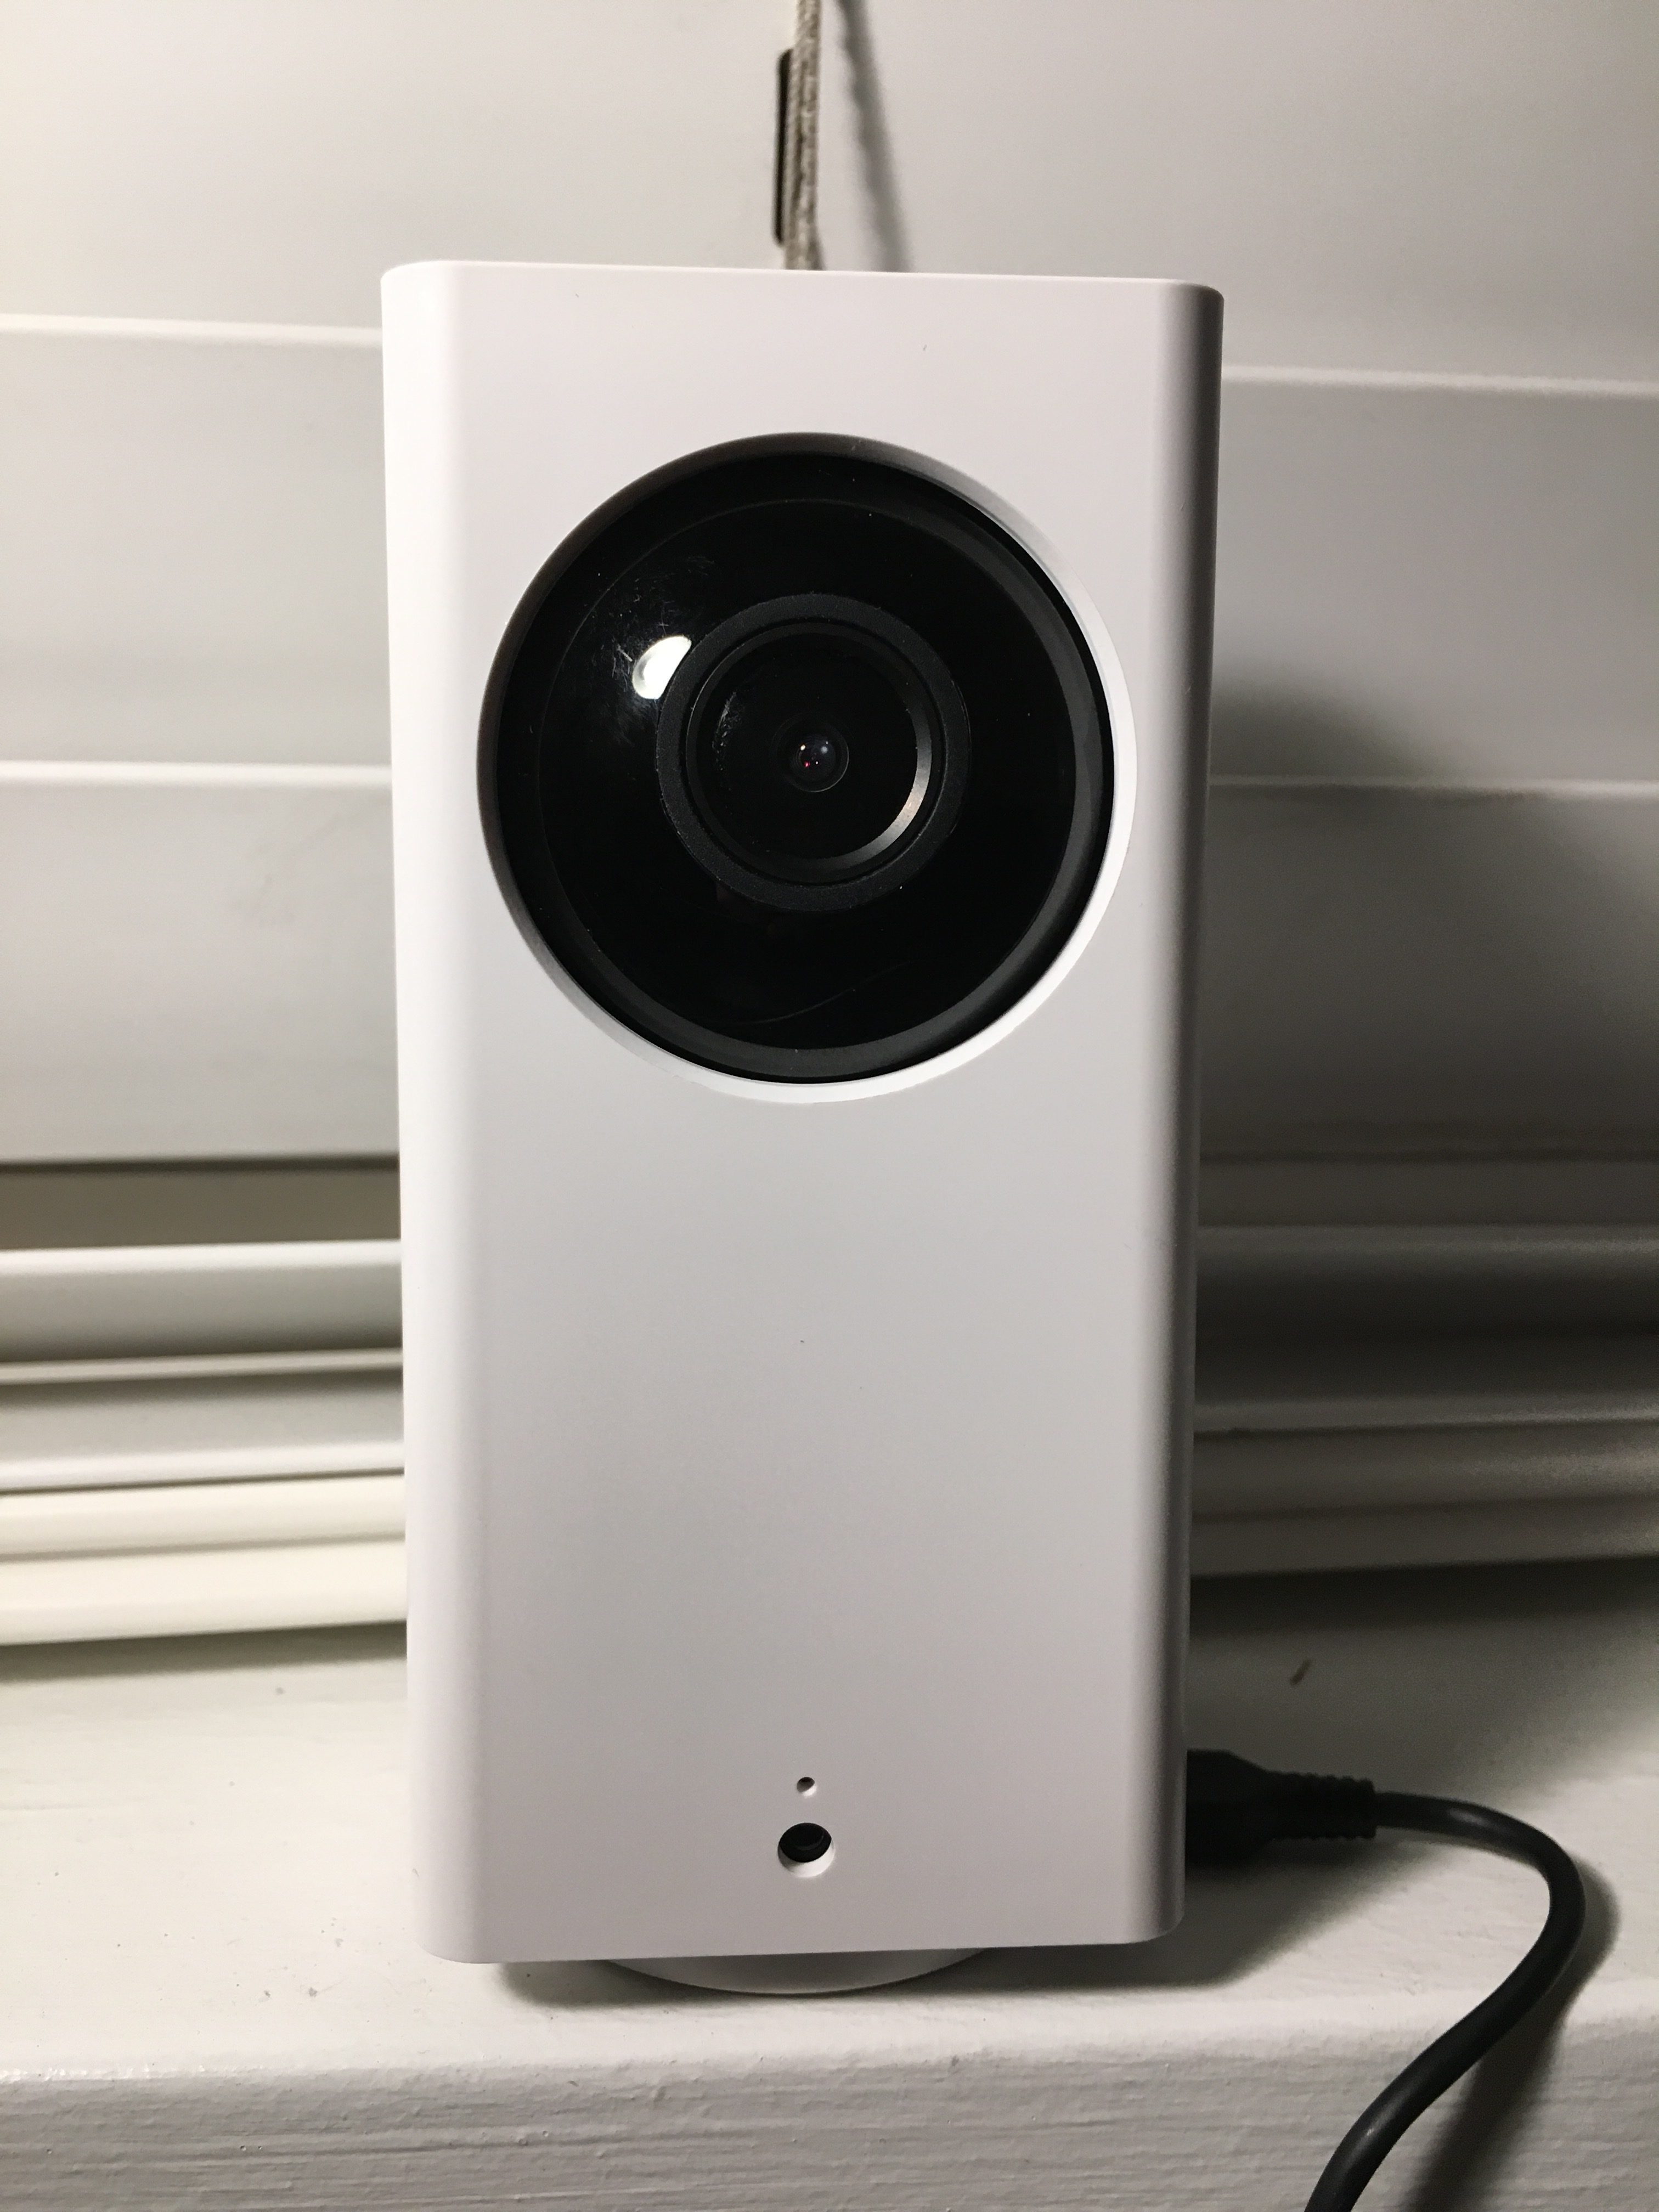
Right now on the market, there are only a handful of official Homekit-enabled smart cameras which each cost a lot of money. Sure, they have other features and are probably more stable, but what if you just wanted a cheap camera to start off with? If so, go ahead onto eBay and get the Xiaomi Dafang IP camera. I waited about three weeks to get mine in the mail, and I think that I paid somewhere around $25, though it can be as low as $18 others have claimed.
A few people have written about this device, but I haven’t found a guide yet for some of the advanced features that I’ve set up myself.
Installation Tips
Dafang Hacks on Github is pretty straight forward, so you should follow those directions as written. Insert the power cable with the boot loader mini SD card in the machine. Hold the reset button, plug in the power, and keep holding until the blue LED comes on. Release, and let it do its thing. The bootloader should force the base of the camera to rotate after 30-60 seconds, after which the blue light will blink a few times and then remain solid. This means that it can now accept the custom firmware.
Unplug the device, pop out the SD and format it again, and load the entire contents of the “firmware_mod” folder onto it. One thing to note on Mac OS — when it asks you to rename the file extension from “dist” to “const”, you need to do it as “save as” with Sublime Text editor (or another code editor) instead of just trying to change the extension it in the Finder (you need to write your network WIFI info into this file). There is also a password file that you can reconfigure located at config/htpasswd.conf, which you’re supposed to use for login purposes (please note this for the steps below). Boot when the firmware card is in the camera, and use a program like LanScan on the Mac App Store to reveal the IP. Put the camera address into a browser, use the login provided, and proceed.
You should end up at the Dafang Hacks firmware screen, essentially rooting into your camera to do advanced features. Great! You have complete control over this device now.
Camera Accessories
Let’s add camera-related accessories to your Homebridge setup. Install the Homebridge HTTP platform. Put in the following lines of code under “accessories”, separated by commas (expect for the last accessory):
Motor Movements — I used 25 as the value to nudge the camera in four different directions, but you can modify/add additional accessories to move the camera however you’d like:
{
"accessory": "Http",
"name": "Motor Left",
"switchHandling": "realtime",
"http_method": "GET",
"on_url":      "http://10.0.0.[x]/cgi-bin/action.cgi?cmd=motor_left&val=25",
"off_url":     "http://10.0.0.[x]",
"status_url":  "http://10.0.0.[x]",
"service": "Switch",
"sendimmediately": "",
"username" : "Your Username",
"password" : "Your Password"
}
{
"accessory": "Http",
"name": "Motor Right",
"switchHandling": "realtime",
"http_method": "GET",
"on_url":      "http://10.0.0.[x]/cgi-bin/action.cgi?cmd=motor_right&val=25",
"off_url":     "http://10.0.0.[x]",
"status_url":  "http://10.0.0.[x]",
"service": "Switch",
"sendimmediately": "",
"username" : "Your Username",
"password" : "Your Password"
}
{
"accessory": "Http",
"name": "Motor Up",
"switchHandling": "realtime",
"http_method": "GET",
"on_url":      "http://10.0.0.[x]/cgi-bin/action.cgi?cmd=motor_up&val=25",
"off_url":     "http://10.0.0.[x]",
"status_url":  "http://10.0.0.[x]",
"service": "Switch",
"sendimmediately": "",
"username" : "Your Username",
"password" : "Your Password"
}
{
"accessory": "Http",
"name": "Motor Down",
"switchHandling": "realtime",
"http_method": "GET",
"on_url":      "http://10.0.0.[x]/cgi-bin/action.cgi?cmd=motor_down&val=25",
"off_url":     "http://10.0.0.[x]",
"status_url":  "http://10.0.0.[x]",
"service": "Switch",
"sendimmediately": "",
"username" : "Your Username",
"password" : "Your Password"
}
Turn on and off the debug mode text on top of the picture:
{
"accessory": "Http",
"name": "Debug On Screen",
"switchHandling": "realtime",
"http_method": "GET",
"on_url":      "http://10.0.0.[x]/cgi-bin/action.cgi?cmd=onDebug",
"off_url":     "http://10.0.0.[x]/cgi-bin/action.cgi?cmd=offDebug",
"status_url":  "http://10.0.0.[x]",
"service": "Switch",
"sendimmediately": "",
"username" : "Your Username",
"password" : "Your Password"
}
Blue and Yellow LEDs (one overrides the other):
{
"accessory": "Http",
"name": "Blue LED",
"switchHandling": "realtime",
"http_method": "GET",
"on_url":      "http://10.0.0.[x]/cgi-bin/action.cgi?cmd=blue_led_on",
"off_url":     "http://10.0.0.[x]/cgi-bin/action.cgi?cmd=blue_led_off",
"status_url":  "http://10.0.0.[x]",
"service": "Switch",
"sendimmediately": "",
"username" : "Your Username",
"password" : "Your Password"
}
{
"accessory": "Http",
"name": "Yellow LED",
"switchHandling": "realtime",
"http_method": "GET",
"on_url":      "http://10.0.0.[x]/cgi-bin/action.cgi?cmd=yellow_led_on",
"off_url":     "http://10.0.0.[x]/cgi-bin/action.cgi?cmd=yellow_led_off",
"status_url":  "http://10.0.0.[x]",
"service": "Switch",
"sendimmediately": "",
"username" : "Your Username",
"password" : "Your Password"
}
Some infrared hacks:
{
"accessory": "Http",
"name": "IR Cut",
"switchHandling": "realtime",
"http_method": "GET",
"on_url":      "http://10.0.0.[x]/cgi-bin/action.cgi?cmd=ir_cut_on",
"off_url":     "http://10.0.0.[x]/cgi-bin/action.cgi?cmd=ir_cut_off",
"status_url":  "http://10.0.0.[x]",
"service": "Switch",
"sendimmediately": "",
"username" : "Your Username",
"password" : "Your Password"
}
{
"accessory": "Http",
"name": "IR LED",
"switchHandling": "realtime",
"http_method": "GET",
"on_url":      "http://10.0.0.[x]/cgi-bin/action.cgi?cmd=ir_led_on",
"off_url":     "http://10.0.0.[x]/cgi-bin/action.cgi?cmd=ir_led_off",
"status_url":  "http://10.0.0.[x]",
"service": "Switch",
"sendimmediately": "",
"username" : "Your Username",
"password" : "Your Password"
}
A few random odds and ends:
{
"accessory": "Http",
"name": "Picture Flip",
"switchHandling": "realtime",
"http_method": "GET",
"on_url":      "http://10.0.0.[x]/cgi-bin/action.cgi?cmd=flip-on",
"off_url":     "http://10.0.0.[x]/cgi-bin/action.cgi?cmd=flip-off",
"status_url":  "http://10.0.0.[x]",
"service": "Switch",
"sendimmediately": "",
"username" : "Your Username",
"password" : "Your Password"
}
{
"accessory": "Http",
"name": "Nightvision",
"switchHandling": "realtime",
"http_method": "GET",
"on_url":      "http://10.0.0.[x]/cgi-bin/action.cgi?cmd=toggle-rtsp-nightvision-on",
"off_url":     "http://10.0.0.[x]/cgi-bin/action.cgi?cmd=toggle-rtsp-nightvision-off",
"status_url":  "http://10.0.0.[x]",
"service": "Switch",
"sendimmediately": "",
"username" : "Your Username",
"password" : "Your Password"
}
Perhaps the most useless accessory, having the camera speak one Chinese phrase on demand:
{
"accessory": "Http",
"name": "Chinese",
"switchHandling": "realtime",
"http_method": "GET",
"on_url":      "http://10.0.0.[x]/cgi-bin/action.cgi?cmd=audio_test",
"off_url":     "http://10.0.0.[x]",
"status_url":  "http://10.0.0.[x]",
"service": "Switch",
"sendimmediately": "",
"username" : "Your Username",
"password" : "Your Password"
}
If anyone understands what it is saying, let me know in the comments.
I had some trouble finding an http accessory platform which has switches that auto-shut off after a set time, like the Broadlink RM Homebridge platform has. You’ll have to shut it off some of these switches manually in order to get them to work multiple times. Don’t worry, I did a +1 for this feature on Github, so we’ll see!
Since there are so many different accessories created from above, I made a new room for my camera in Homekit to hold them all.
Video Stream
On your Raspberry Pi or Mac, you need to install FFmpeg, and homebridge-camera-ffmpeg. There are specific directions for the RPI that are located here. For the Mac, there should be an install package on the project’s website.
On the Fang Hacks screen, under “boot scripts”, enable and start the service for rtsp-h264. Disable rtsp-mjpeg.
Putting the camera into the Raspberry Pi with the right settings was a challenge, but I got it working. Use the following settings:
{
"platform": "Camera-ffmpeg",
"cameras": [
{
"name": "Your Camera Name",
"videoConfig": {
"source": "-rtsp_transport tcp -i rtsp://10.0.0.[x]:[x]/unicast",
"maxStreams": 2,
"maxWidth": 720,
"maxHeight": 480,
"maxFPS": 15,
"vcodec":"h264_omx"
}
}
]
}
Any variation of this should work, but the steam URL is very necessary in order to make it not be choppy. You may find better settings for this than I did, so let me know.
Motion Sensor
A interesting piece to the camera puzzle is adding a motion sensor accessory which works with FFmpeg. This could be used under an automation to give you a notification when someone is in your home when you aren’t. While I did happen to get the motion plugin to work, I was unable to get the homebridge plugin itself to trigger. See here for more information on this.
Screenshots
This can be configured to save to a Google Drive using the plugin and a developer API key (as per the project Github for the video plugin), but I’m not inclined to do it at this time.
Limitations
- In this version of the hack, audio appears to be disabled. Hopefully in the future, they’ll be able to get it working again. Two-way audio will only work on the standard firmware for now.
- There are some clicking sounds that the camera makes at various times, and I am unsure how to shut that off. It is probably unavoidable.
- The stream seems to jump in and out of color when you select it, and does lag for a few seconds before finally showing up.
I tried your guide and got as far as the successfully installing the custom firmware on my Dafang camera.
I did install the following as provided by your guide:
1. npm package homebridge-http
2. npm package homebridge-camera-ffmpeg
3. Put the camera stream platform in my home bridge’s config.json file with my other ongoing devices.
I didn’t add the camera controls that your guide has, only the FFmpeg stream one within my config.json file for home bridge. Added the camera successfully to my iPhone home kit but no video stream is happening and a detailed message “No response” is showing within my home kit app.
In your json config you put the string:
“source”: “-rtsp_transport tcp -i rtsp://10.0.0.%5Bx%5D:%5Bx%5D/unicast“,
but I replaced mine as “source”: “-rtsp_transport tcp -i rtsp://192.168.1.119:8554/unicast“,
Is this correct? What could I be doing wrong?
Thanks for your guide and appreciate your help :)
I believe that Dafang hacks has upgraded since I wrote this. I would ensure that a link to the stream would be functional before adding it to Homebridge. You can use VLC to check that RTSP link to see if anything shows up there first. Then, I would re-add the device to Homekit with the new settings.
Check out this plugin
https://github.com/sahilchaddha/homebridge-dafang
the audio in the video was saying:
Connected to the Internet, you may start using it.
It was saying “Network connect successfully.You can start using the device.”